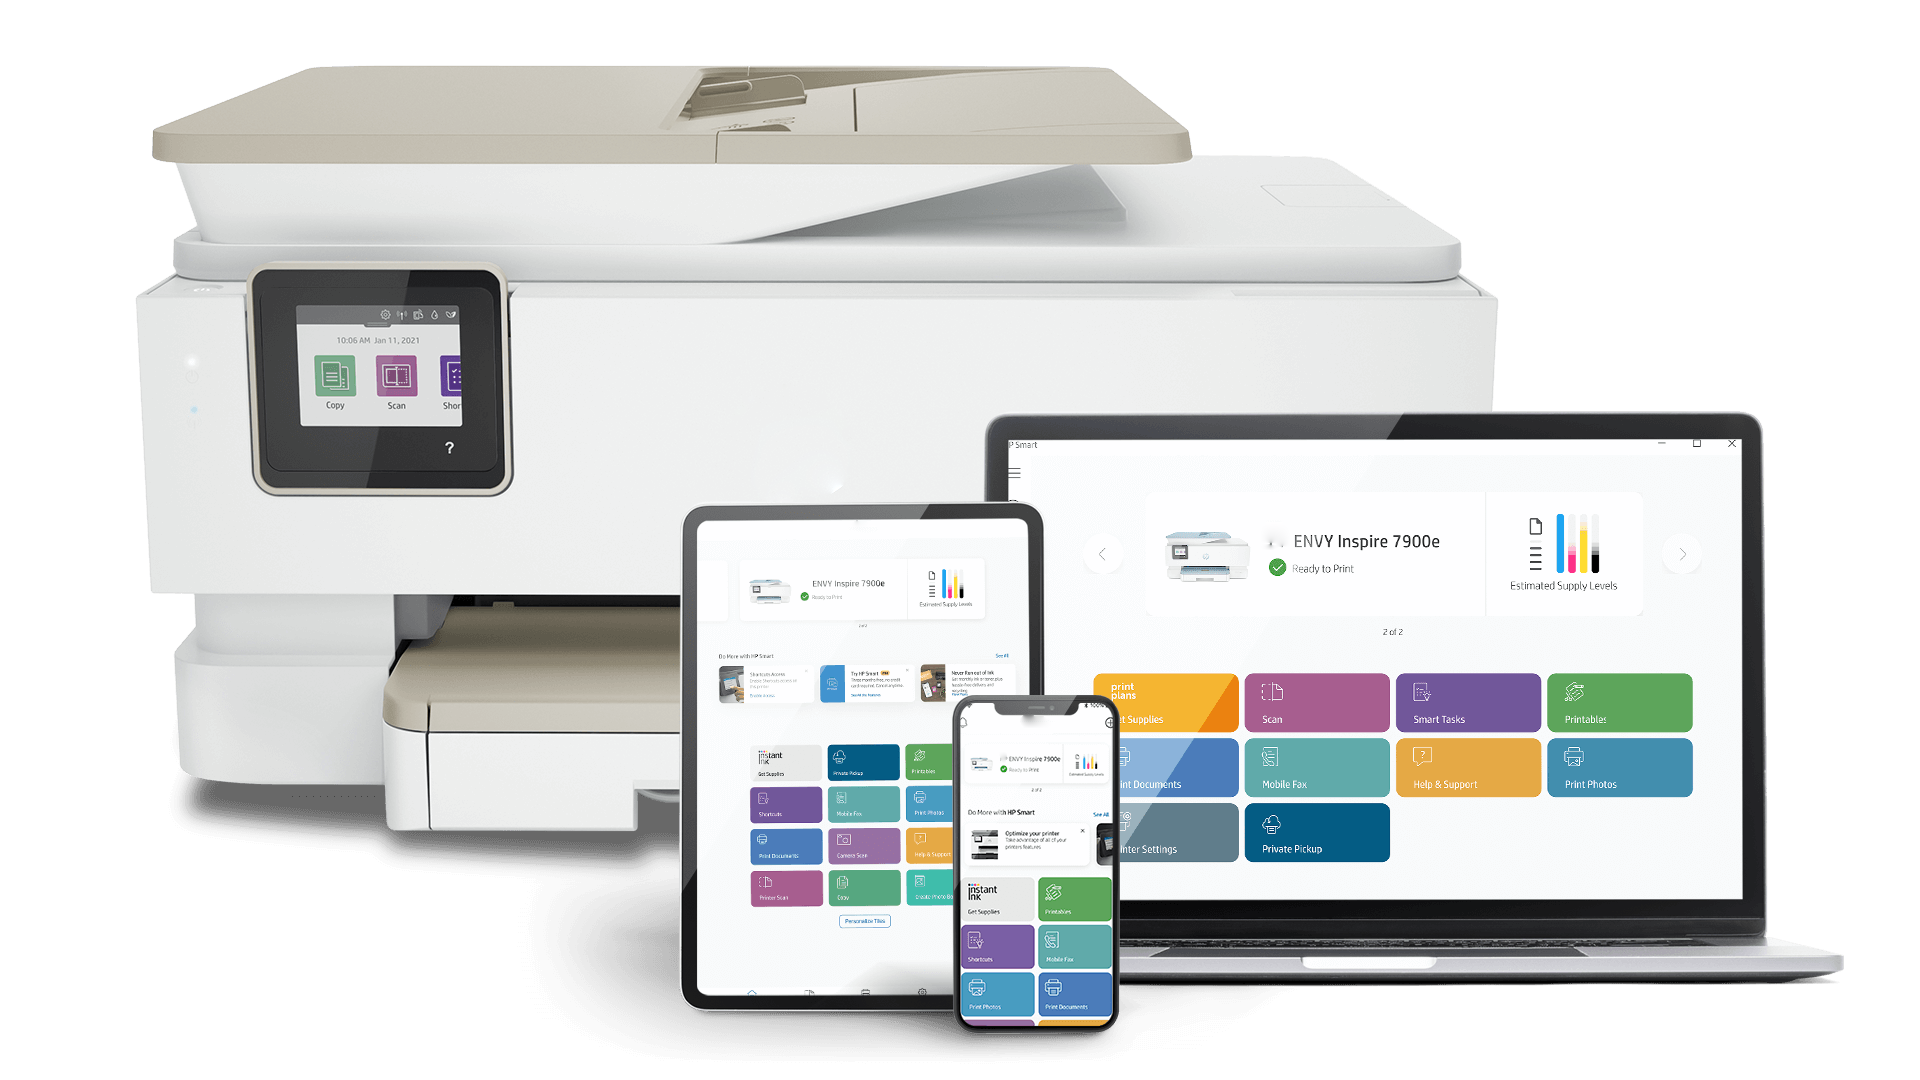
Setup your printer now
Enter your printer name or model number to get the right smart software and drivers for your printer.

Printer Driver Installation Failed: Fatal error C0000022 occurred. Chat with our support team for a solution.
Caution: Any further installation attempts may result in damage to the printer and loss of warranty coverage.
-
Sale!
 Dell
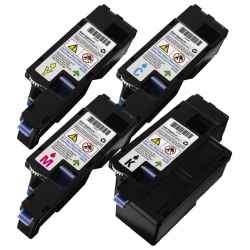
DellCompatible High-Performance Printer Cartridge for 2330D / 2330DN / 2350D / 2350DN Series
Original price was: $38.00.$36.00Current price is: $36.00. -
Sale!
 Dell
DellCompatible High-Performance Printer Cartridge for B2375DFW / B2375DNF Series
Original price was: $40.00.$38.00Current price is: $38.00. -
Sale!
 Dell
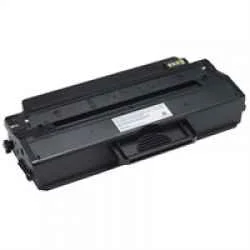
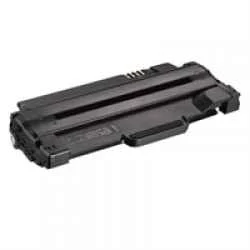
DellCompatible High-Quality Printer Cartridge for B1160 / B1160W / B1165NFW Series
Original price was: $38.00.$36.00Current price is: $36.00. -
Sale!
 Dell
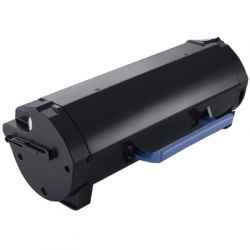
DellCompatible High-Yield Printer Cartridge for B2360D / B2360DN / B3460DN / B3465DNF Series
Original price was: $40.00.$38.00Current price is: $38.00. -
Sale!
 Dell
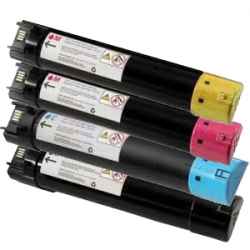
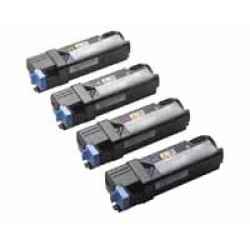
DellCompatible Premium Printer Cartridge for 5130 / 5130CDN Series
Original price was: $40.00.$30.00Current price is: $30.00. -
Sale!
 Dell
DellCompatible Premium Printer Cartridge for B1260 / B1260DN / B1265 / B1265DNF Series
Original price was: $35.00.$34.00Current price is: $34.00. -
Sale!
 Dell
DellCompatible Premium Printer Cartridge for C1660 / C1660W Series
Original price was: $40.00.$33.00Current price is: $33.00. -
Sale!
 Dell
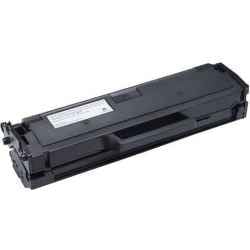
DellCompatible Printer Cartridge for 1130 / 1130N / 1133 / 1135N Series
Original price was: $40.00.$35.00Current price is: $35.00. -
Sale!
 Dell
DellCompatible Printer Cartridge for 1250C / 1350CNW / 1355CN / 1355CNW / C1760NW / C1765NF / C1765NFW Series
Original price was: $40.00.$36.00Current price is: $36.00. -
Sale!
 Dell
DellCompatible Printer Cartridge for 1320 / 1320C / 1320CN Series
Original price was: $38.00.$35.00Current price is: $35.00. -
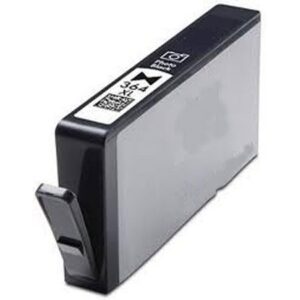
Sale!
 HP
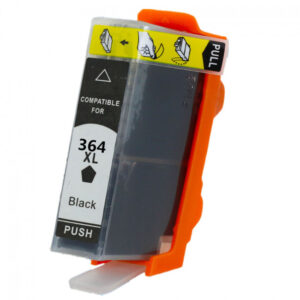
HPHigh Yield 364XL Black Remanufactured Ink Cartridge Replacement
Original price was: $10.00.$8.00Current price is: $8.00. -
Sale!
 HP
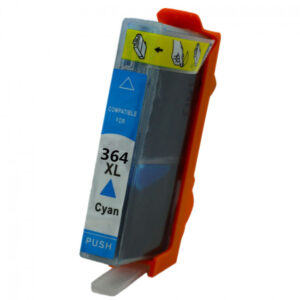
HPHigh Yield 364XL Cyan Remanufactured Ink Cartridge Replacement
Original price was: $12.00.$10.00Current price is: $10.00.

-
Sale!
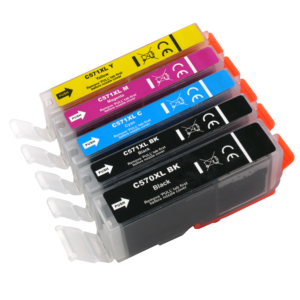 Canon
CanonCompatible 570XL 571XL High-Yield Multipack Ink Cartridges (5 Pack)
Original price was: $20.00.$15.00Current price is: $15.00. -
Sale!HP
High Yield 364XL Black Remanufactured Ink Cartridge Replacement
Original price was: $10.00.$8.00Current price is: $8.00. -
Sale!HP
High Yield 364XL Cyan Remanufactured Ink Cartridge Replacement
Original price was: $12.00.$10.00Current price is: $10.00. -
Sale!
 HP
HPHigh Yield 364XL Magenta Remanufactured Ink Cartridge Replacement
Original price was: $10.00.$8.00Current price is: $8.00. -
Sale!
 HP
HPHigh Yield 364XL Photo Black Remanufactured Ink Cartridge Replacement
Original price was: $10.00.$8.00Current price is: $8.00. -
Sale!
 HP
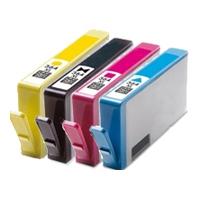
HPHigh Yield 364XL Remanufactured Full Ink Cartridge Set Replacement
Original price was: $12.00.$10.00Current price is: $10.00. -
Sale!
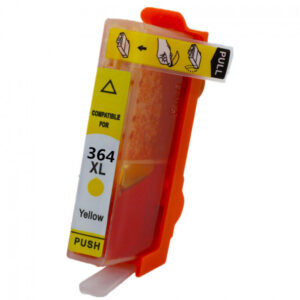 HP
HPHigh Yield 364XL Yellow Remanufactured Ink Cartridge Replacement
Original price was: $10.00.$8.00Current price is: $8.00. -
Sale!
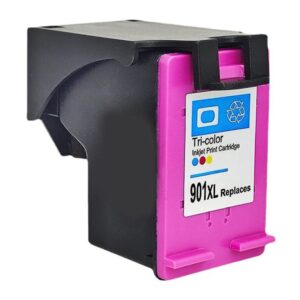 HP
HPHigh Yield 901XL Tri-Color Remanufactured Ink Cartridge Replacement
Original price was: $10.00.$8.00Current price is: $8.00. -
Sale!
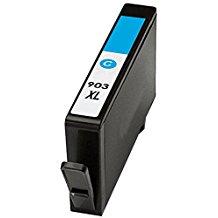
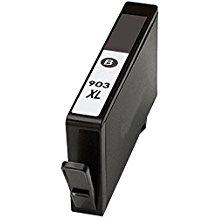 HP
HPHigh Yield 903XL Black Remanufactured Ink Cartridge Replacement
Original price was: $10.00.$8.00Current price is: $8.00. -
Sale!
 HP
HPHigh Yield 903XL Cyan Remanufactured Ink Cartridge Replacement
Original price was: $12.00.$8.00Current price is: $8.00. -
Sale!
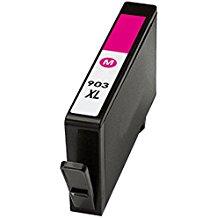 HP
HPHigh Yield 903XL Magenta Remanufactured Ink Cartridge Replacement
Original price was: $10.00.$8.00Current price is: $8.00. -
Sale!
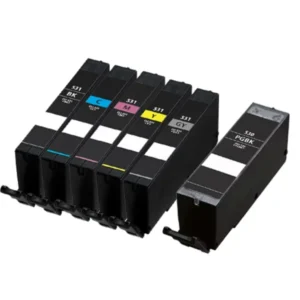 Canon
CanonRemanufactured 530 531 High-Yield Ink Cartridge Set (6 Pack)
Original price was: $19.00.$15.00Current price is: $15.00. -
Sale!
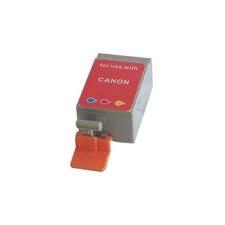
 Canon
CanonRemanufactured BCI-15 Black Ink Cartridge
Original price was: $20.00.$15.00Current price is: $15.00. -
Sale!
 Canon
CanonRemanufactured BCI-16 Colour Ink Cartridge
Original price was: $15.00.$14.00Current price is: $14.00. -
Sale!
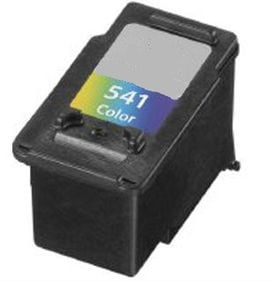 Canon
CanonRemanufactured CL-541 Colour Ink Cartridge
Original price was: $15.00.$13.00Current price is: $13.00. -
Sale!
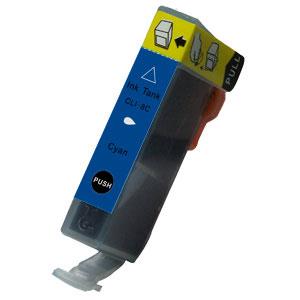 Canon
CanonRemanufactured CLI-8 Cyan Ink Cartridge
Original price was: $18.00.$14.00Current price is: $14.00. -
Sale!
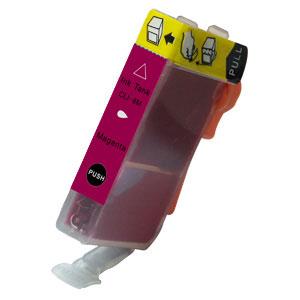 Canon
CanonRemanufactured CLI-8 Magenta Ink Cartridge
Original price was: $19.00.$14.00Current price is: $14.00. -
Sale!
 Canon
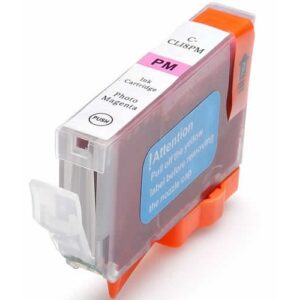
CanonRemanufactured CLI-8 Photo Magenta Ink Cartridge
Original price was: $16.00.$13.00Current price is: $13.00. -
Sale!
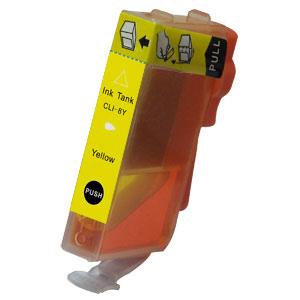 Canon
CanonRemanufactured CLI-8 Yellow Ink Cartridge
Original price was: $15.00.$12.00Current price is: $12.00. -
Sale!
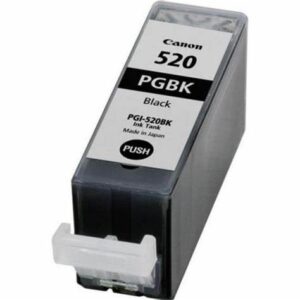 Canon
CanonRemanufactured PGI-520 Black Ink Cartridge
Original price was: $13.00.$12.00Current price is: $12.00.
I run a small coaching center, and printing costs used to be very high. Since switching to hpprint, I’ve reduced my monthly expenses significantly without compromising print quality. The cartridges work perfectly, and delivery is always on time.

Karan Malhotra
Jaipur
hpprint offers exactly what they promise — affordable and reliable ink. The colors are vibrant, and installation was simple. I appreciate the eco-friendly approach as well. Definitely recommending this to my friends and colleagues.

Meera Nair
Kochi